|
| My husband and me with our two boys on October 5th, 2014 |
I made this page for my mother-in-law who asked for a layout of my husband and me with our two boys. I knew I didn't have any recent photos of the four of us so we went for a walk along a nature trail for a scenic backdrop and used the timer on my camera. Picture me pressing the timer button then madly stumbling across the rocks to get in position. I actually started this layout a while ago but had to put it on the back burner for a while because of my other commitments. As it was to be a birthday present I had to switch it to a priority to finish on time.
The background of this layout is a piece of 13arts paper,
Always Reach Higher, from their
Fly Away collection. I added some colour with a green Faber-Castell Gelato and diluted Flat Fabio mist to the background, did some stencilling with molding paste overtop, applied a clear crackle coat over parts and did a light grey wash over the crackled areas
 |
| 13arts paper, "Always Reach Higher" |
|
 |
| The Crafter's Workshop mini template - Kasbah |
|
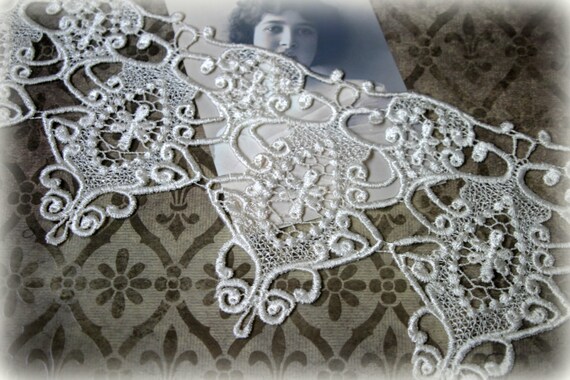
The old paper doily behind the photo was coloured with a green Gelato and Flat Fabio mists then glued to the paper with matte multi-medium . I punched around the edges and added a bit more red to some areas of the paper to balance it out and sprayed the paper with a coat of Krylon Low Odour Clear Matte finish (to tone down the glossy look of the crackle which I didn't like).

|
 |
| Ek Success punch - Round Binding Edge |
|
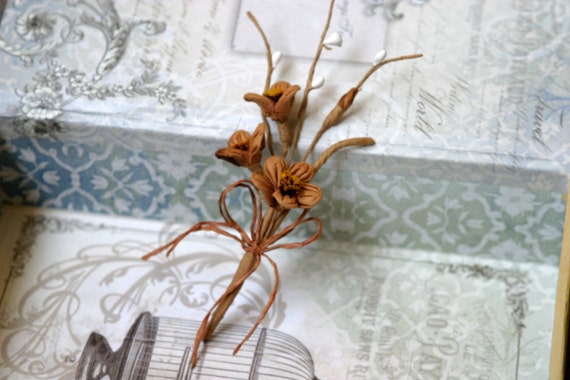
The rocks were made from oven-baked clay using a mold and then painted. I did a basecoat of grey and played with washes and dry brushing overtop until I got something I liked. The clay stays somewhat flexible when cured so I was able to cut pieces of it off and place some of the "rocks" on top to make it look more natural. The acorns were also made using a mold and clay.
 |
| First Impressions Molds - Cobblestone Path |
|
 |
| Best Flexible Molds - Oak Arbor |
| 
|
These are some of the other products I used:
 |
| Dusty Attic chipboard - French Flourish |
|
 |
| Dusty Attic chipboard - French Flourish Border |
|
 |
| Creative Embellishments chipboard - Flourish 10 |
|
 |
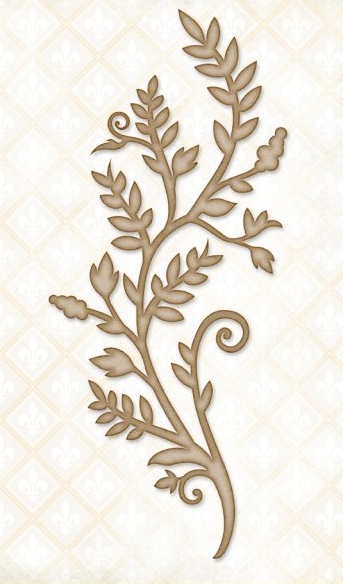
| Sizzix Sizzlits die - Autumn Gatherings |
And some more close-ups:
 |
| The chipboard leaves were painted green and sprayed with brown mists, then lightly inked around the tips with black. |
 |
| The lacy die-cut leaves were made using Prima dies. |
 |
| I sprayed the die-cut maple leaves with red mist then inked around the edges in black |
Thanks so much for looking.